How to Excel Cell Lock : Simple Step-by-Step Guide
Learn how to excel cell lock in seconds. This guide covers manual steps and a faster AI method to protect your spreadsheet data automatically.
.gif)
Similar Cases
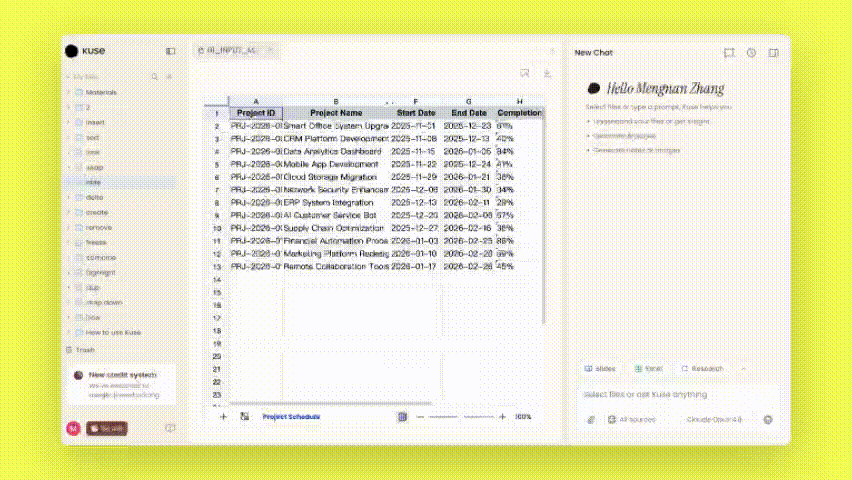
Kuse lets you lock cells in your spreadsheet instantly — just describe which cells to protect using plain language, and it handles the rest.
Locking cells in Excel traditionally involves navigating through the Format Cells dialog, toggling the Locked property, and then applying sheet protection with a password — a process that can take several clicks and is easy to get wrong if you miss a step. With an AI-powered tool like Kuse, you can simply type something like "lock cells A1 to A20" and the protection is applied in seconds, removing the need to remember menu paths or checkbox settings.
What does Excel cell lock mean?
Cell locking in Excel refers to the process of protecting specific cells so that their contents cannot be changed, moved, or deleted by other users or by accident. When a cell is locked and sheet protection is enabled, anyone who tries to edit that cell will see a warning message instead of being able to type freely.
This is commonly used in shared workbooks where certain cells contain formulas, headers, or reference data that should not be modified. For example, a finance team might lock all formula cells in a budget template so that collaborators can only enter values in designated input fields. Similarly, a project manager might lock column headers and status dropdowns to keep the spreadsheet structure intact.
Cell locking matters because a single accidental edit to a formula or a key data point can cascade errors across an entire workbook. By locking the right cells, you create a controlled environment where people can work confidently without risking the integrity of the underlying calculations or structure.
How to lock cells in Excel
The standard way to lock cells in Excel involves a two-part process. First, you need to understand that by default, all cells in Excel are marked as "Locked" — but this setting has no effect until you turn on sheet protection. So the real task is deciding which cells to leave unlocked for editing and which to keep locked.
Start by selecting all cells in your worksheet using Ctrl+A, then open the Format Cells dialog with Ctrl+1. Go to the Protection tab and uncheck the "Locked" checkbox. This unlocks every cell on the sheet. Next, select only the specific cells you want to protect. Open the Format Cells dialog again, go to the Protection tab, and check the "Locked" checkbox for those cells. Finally, go to the Review tab and click "Protect Sheet." You can set a password and choose which actions users are still allowed to perform, such as selecting unlocked cells or sorting data.
This process works, but it can be time-consuming when dealing with complex worksheets. If you have multiple ranges scattered across different sheets that need different protection levels, the manual approach becomes tedious quickly. There is also a risk of forgetting to protect a sheet after marking cells as locked, which means your locking settings will have no effect at all. Users frequently run into confusion because they assume marking a cell as "Locked" immediately protects it, only to find that edits are still possible.
A faster way to lock cells with Kuse
Instead of navigating through menus and dialog boxes, Kuse lets you lock cells using natural language. You can type a request like "lock all cells with formulas in column D" or "protect the header row and the totals row," and the tool applies the correct settings automatically. There is no need to remember which tab holds the protection options or whether you need to unlock everything else first.
This approach is especially useful when working with large datasets. If your spreadsheet has hundreds of rows and you need to lock specific cells based on a condition — such as all cells containing dates or all cells above a certain value — doing this manually would require sorting, filtering, and selecting ranges carefully. With Kuse, you describe the condition in plain words and the locking is applied across the entire dataset in one step.
The efficiency improvement is significant for teams that regularly build and share templates. Instead of writing documentation about which cells to lock and how to apply protection, you can handle the entire process in a single instruction. This reduces setup time and ensures consistency across multiple workbooks.
More: how to lock a row in excel
Locking a row in Excel follows the same general principle as locking individual cells, but the focus is on protecting an entire horizontal range. This is most commonly needed for header rows, summary rows, or rows that contain formulas aggregating data from other parts of the sheet. Keeping these rows locked prevents collaborators from accidentally deleting labels or overwriting calculated totals.
To lock a row traditionally, click the row number on the left side of your worksheet to select the entire row. Open the Format Cells dialog, go to the Protection tab, and make sure the "Locked" checkbox is enabled. Then protect the sheet through the Review tab. If you want to lock multiple non-adjacent rows, hold Ctrl while clicking each row number before applying the locked property.
With Kuse, you can simply say "lock row 1 and row 50" or "lock all rows that contain subtotals." The tool identifies the correct rows and applies protection without requiring you to manually select ranges or navigate through dialog boxes. This is particularly helpful in worksheets where important rows are spread throughout a large dataset and would be difficult to select manually.
FAQs
The quickest manual method is to select your target cells, open Format Cells (Ctrl+1), check the Locked option under the Protection tab, and then enable sheet protection from the Review tab. If you want to skip these steps entirely, Kuse lets you describe which cells to lock in plain language and applies the protection automatically.
Yes. Cell locking in Excel does not require any formulas or VBA code. It is done entirely through the Format Cells dialog and the Protect Sheet feature under the Review tab. Tools like Kuse simplify this further by letting you lock cells with a plain text instruction, so no technical knowledge is needed at all.
Excel's built-in cell locking works on large spreadsheets, but selecting and configuring protection for many scattered ranges can be slow and error-prone. Kuse handles large datasets efficiently because you can describe locking conditions in natural language — such as "lock all formula cells" — and it applies protection across the entire sheet in one step, regardless of size.
No. Locking cells is a protective action that prevents future edits — it does not modify, delete, or overwrite any existing content. Your data remains exactly as it was before the lock was applied. When using Kuse, the tool only adds protection settings to the specified cells and does not alter cell values or formulas in any way.